Pages

Sunday, January 8, 2012

Turkey Chili with Skillet Cornbread

                                                                                                                                                                        
Here's an oldie, but a goodie, pulled from the archives of Christmases past. I thought it would be a nice seasonal recipe to share, despite the UN-seasonably warm weather we are enjoying here in San Francisco. After all, who DOESN'T love a good, healthy turkey chili with a nice side of buttery, decadent skillet corn bread?


These two recipes from Epicurious never fail to garner raves, along with requests for second helpings. Simple and straight-forward, I have never felt the need to tinker with either the ingredients or the instructions. My only suggestion would be to try adding some extra chili powder, if you like your chili spicy, as this is a decidedly mild version.

And so, without futher ado......


Saturday, January 7, 2012

Dark Chocolate Dried Cherry Oatmeal Cookies

I'm not sure that these cookies really need an introduction. I mean, gooey chocolate, tart cherries, and crisp oatmeal, all combined into a chewy cookie -- who wouldn't be excited about that?

My inspiration for making a chocolate-cherry-oatmeal cookie came from Epicurious, which boasts a highly rated recipe with a very long and expensive ingredient list. Loving the idea, but not willing to spend quite so much, I embarked on a search to find a more reasonable (but just as tasty) option.

I settled on this one from Bake or Break, and haven't looked back. To me, it's a perfectly simple process that produces a perfectly crispy on the outside, chewy on the inside cookie. It definitely ranks among my current favorites.


Dark Chocolate Dried Cherry Oatmeal Cookies
(adapted from Bake or Break)
  • 1 cup butter
  • 1 cup brown sugar, firmly packed
  • 2 eggs
  • 1 & 1/2 teaspoons vanilla extract
  • 1 & 1/2 cups all-purpose flour
  • 1 teaspoon baking soda
  • 1/2 teaspoon cinnamon
  • 1/2 teaspoon salt
  • 3 cups oats
  • 1 cup dried cherries
  • 8 ounces dark chocolate chips (I used Ghiradelli 70% cacao)


Preheat oven to 350°.

Beat butter and brown sugar together until smooth. Add eggs one at a time, mixing after each addition. Add vanilla.

In a separate bowl, whisk together flour, baking soda, cinnamon, and salt. Gradually add to the butter mixture just until combined. Do not overmix. Stir in oats, cherries, and chocolate.

Drop by tablespoonfuls onto lined or lightly greased baking sheets. Bake for 10 to 12 minutes, or until bottom edges are lightly browned. Cool on pans for a few minutes, then remove to wire racks to cool completely.

Monday, January 2, 2012

Beef Tenderloin with Wild Mushroom Sauce

Ah, Christmas dinner. Or in this case, Christmas Eve dinner. In my family, it's always been tradition to open presents on Christmas Eve while noshing on whatever combination of cheese, crackers, smoked salmon, and cookies my father received at work. Then, on Christmas Day, my mom and I wake up early and begin preparing one heck of a meal.

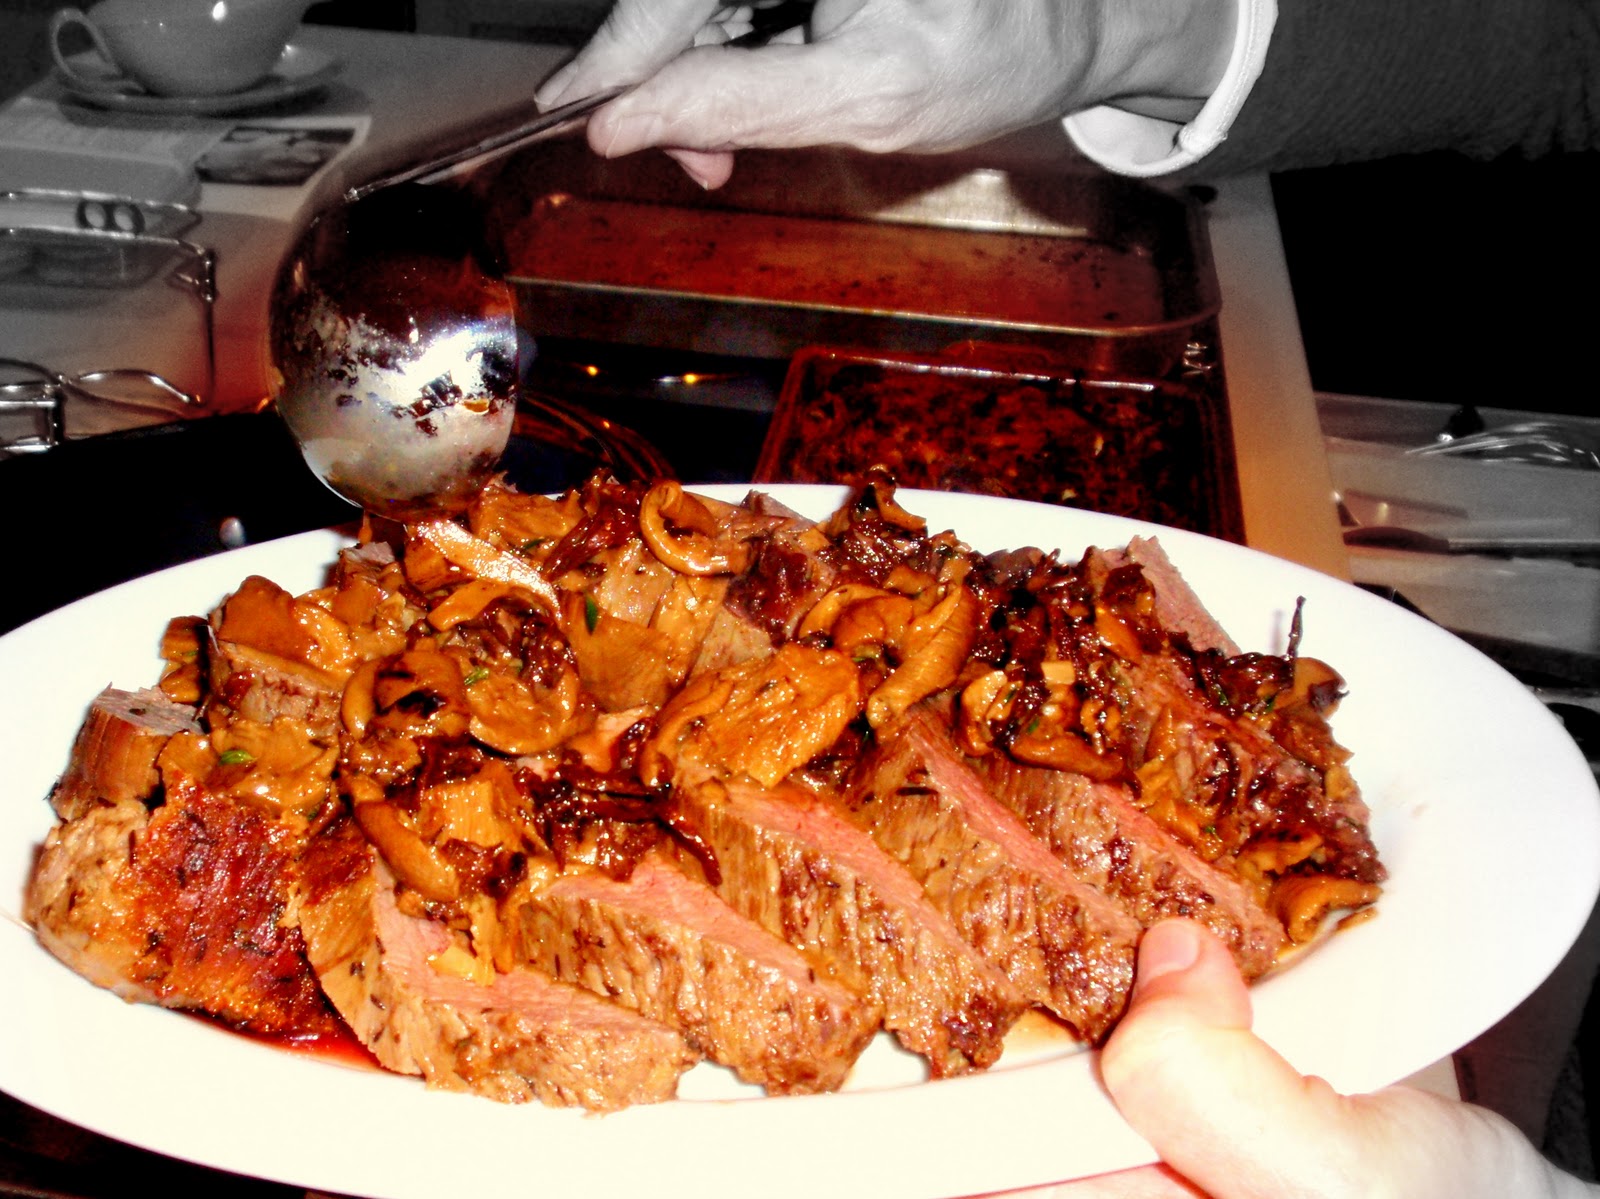
This year, however, the state of the economy + rising plane fares meant that I would be flying back home on Christmas Day, necessitating a change in plans. No innocent noshing on Christmas Eve this year -- no, sir. This year, Christmas Eve was all about indulgence, beginning with this rich, flavorful beef tenderloin.


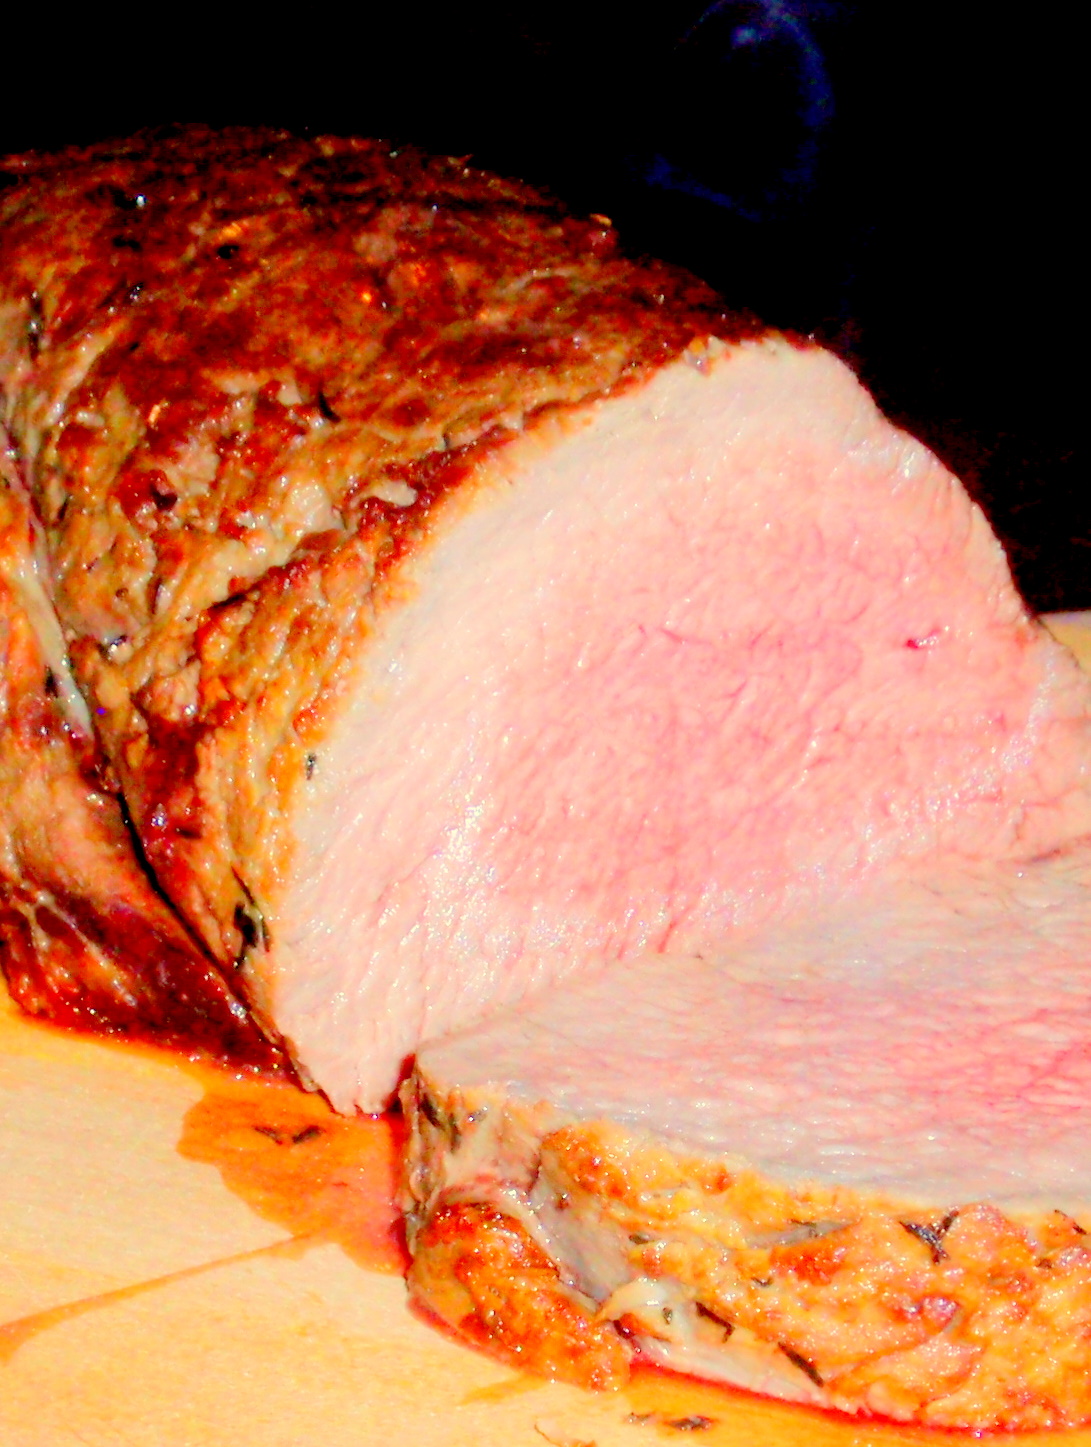
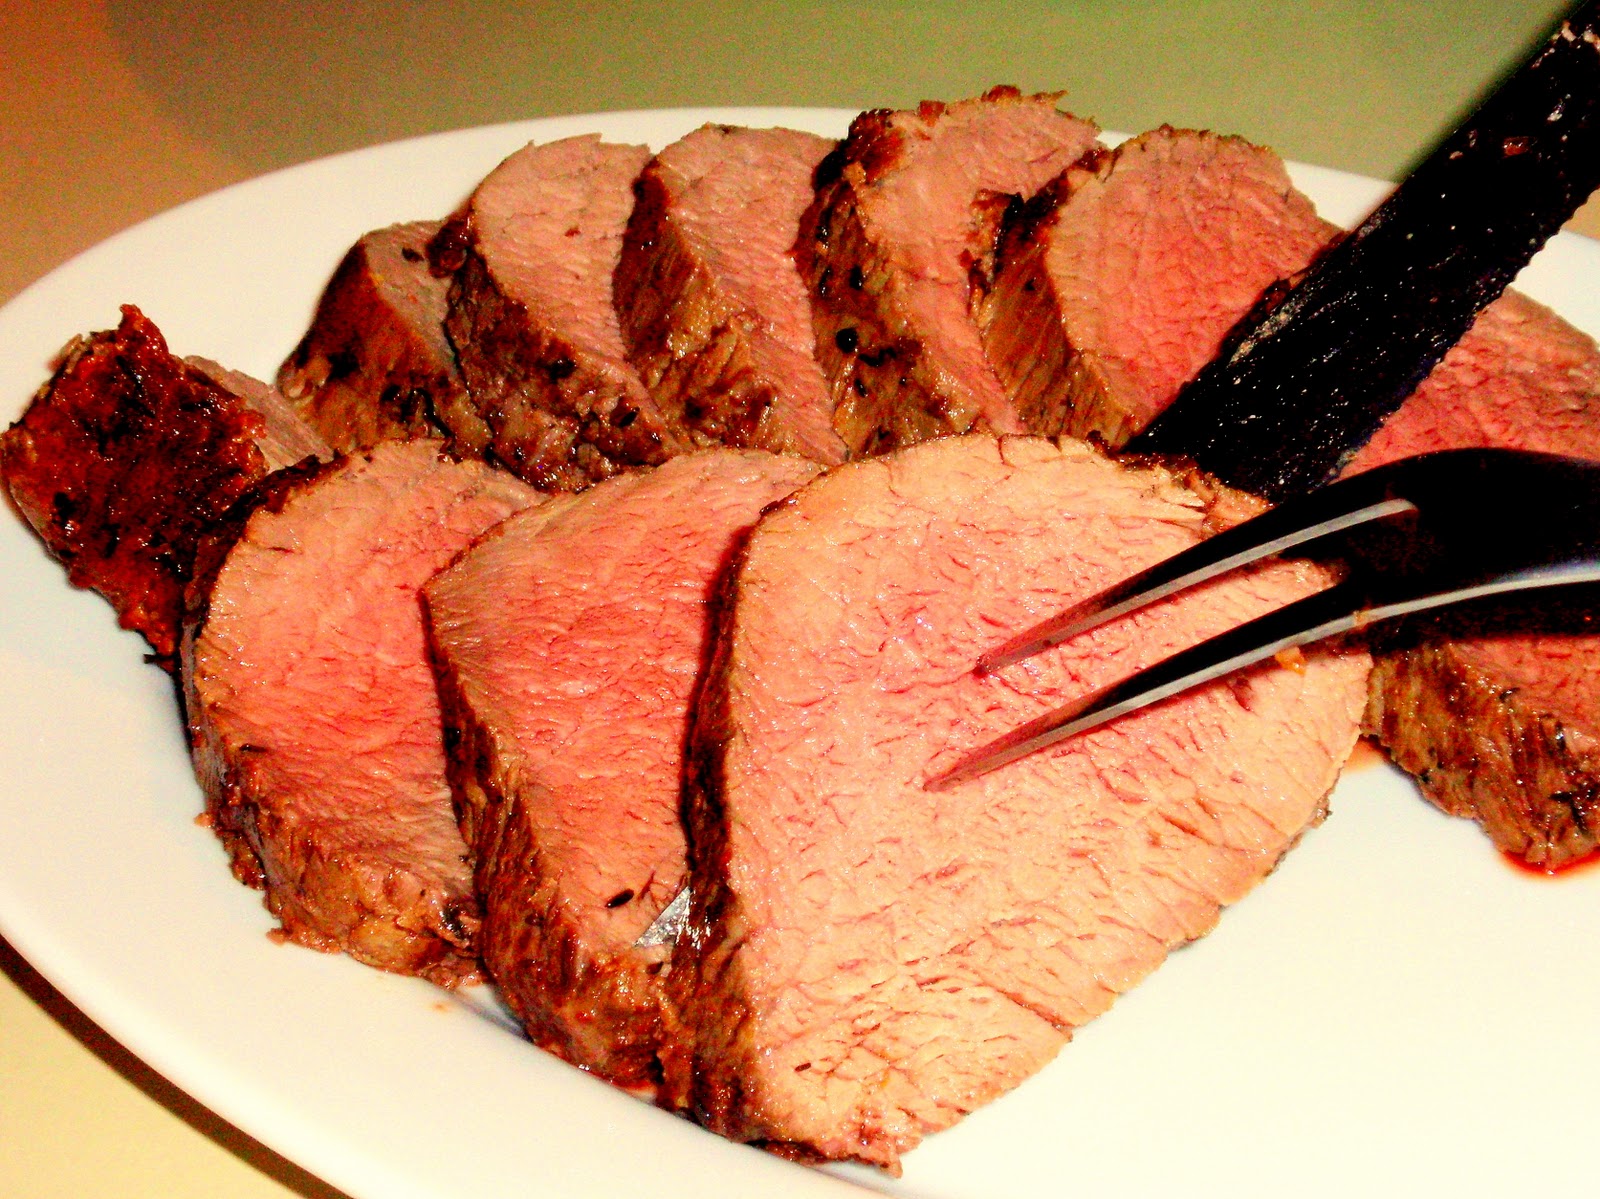
Upon the supervision of my ever practical and very experienced mother, I made a few changes. First, I used a combination of dried /reconstituted chanterelles and dried/reconsistuted oyster mushrooms for the sauce, reserved the liquid from the mushrooms, and combined it with Better than Bullion as a substitute for the time-consuming Beef Reduction included in the recipe. Secondly, I cooked the beef a bit longer than specified, as we have a few people in our family who get squeamish at the thought of rare meat. The pictures below depict beef that was removed at an internal temperature of 132 degrees. In my opinion, it was a bit over-done, though to others, it was perfect. I would try aiming for 125 degrees next time, but to each their own, right?


Beef Tenderloin with Wild Mushroom Sauce
(adapted from Epicurious)

  • 1 tablespoon plus 2 teaspoons minced fresh thyme, divided
  • 2 teaspoons coarse kosher salt
  • 3 garlic cloves, pressed, divided
  • 1 2 1/2- to 2 3/4-pound beef tenderloin, well trimmed
  • 4 tablespoons olive oil, divided, plus additional for brushing
  • 8 ounces fresh (or dried and reconsistuted) chanterelle mushrooms, sliced (about 4 cups lightly packed)
  • 2 tablespoons minced shallot
  • 4 tablespoons brandy, divided
  • 1/2 cup whipping cream
  • 1 rounded tablespoon all purpose flour
  • Beef Reduction (or 1 tbp Better than Bullion + approx 2 cups of water or liquid reserved after reconstituing mushrooms) 
  • 2 tablespoons minced fresh Italian parsley
Mix 1 tablespoon thyme, 2 teaspoons coarse salt, and 2 pressed garlic cloves in small bowl. Rub salt mixture over beef tenderloin. Wrap in plastic. Place in 11x7x2-inch baking dish and chill at least 1 day and up to 3 days.
Heat 3 tablespoons oil in heavy large skillet over high heat. Add oyster and chanterelle mushrooms and sauté until browned, about 8 minutes. Add minced shallot, 1 pressed garlic clove, and 1 teaspoon thyme; sauté 2 minutes. Add 2 tablespoons brandy and stir 20 seconds. Add cream; stir until almost all liquid is absorbed, about 3 minutes. DO AHEAD: Can be made 2 hours ahead. Cover and let stand at room temperature.

Preheat oven to 400°F. Brush heavy large roasting pan with oil. Heat remaining 1 tablespoon oil in heavy large skillet over medium-high heat. Add beef tenderloin and cook until browned on all sides, about 5 minutes Total. Transfer to prepared roasting pan. Roast until instant-read thermometer inserted into center registers 118°F for rare, about 28 minutes. Transfer beef to cutting board; let rest 10 minutes.

Meanwhile, rewarm mushroom mixture. Sprinkle flour over; stir to coat. Add remaining 2 tbs brandy to roasting pan. Heat over medium heat, scraping up browned bits, then add to mushroom mixture.

Add Beef Reduction (or Better than Bullion + liquid)  to mushrooms and bring to boil. Reduce heat to medium-high and simmer until slightly thickened, about 5 minutes. Stir in remaining 1 teaspoon thyme. Season to taste with salt and pepper.

Thinly slice beef. Arrange beef slices on plates. Spoon mushroom sauce over, sprinkle with parsley, and serve.

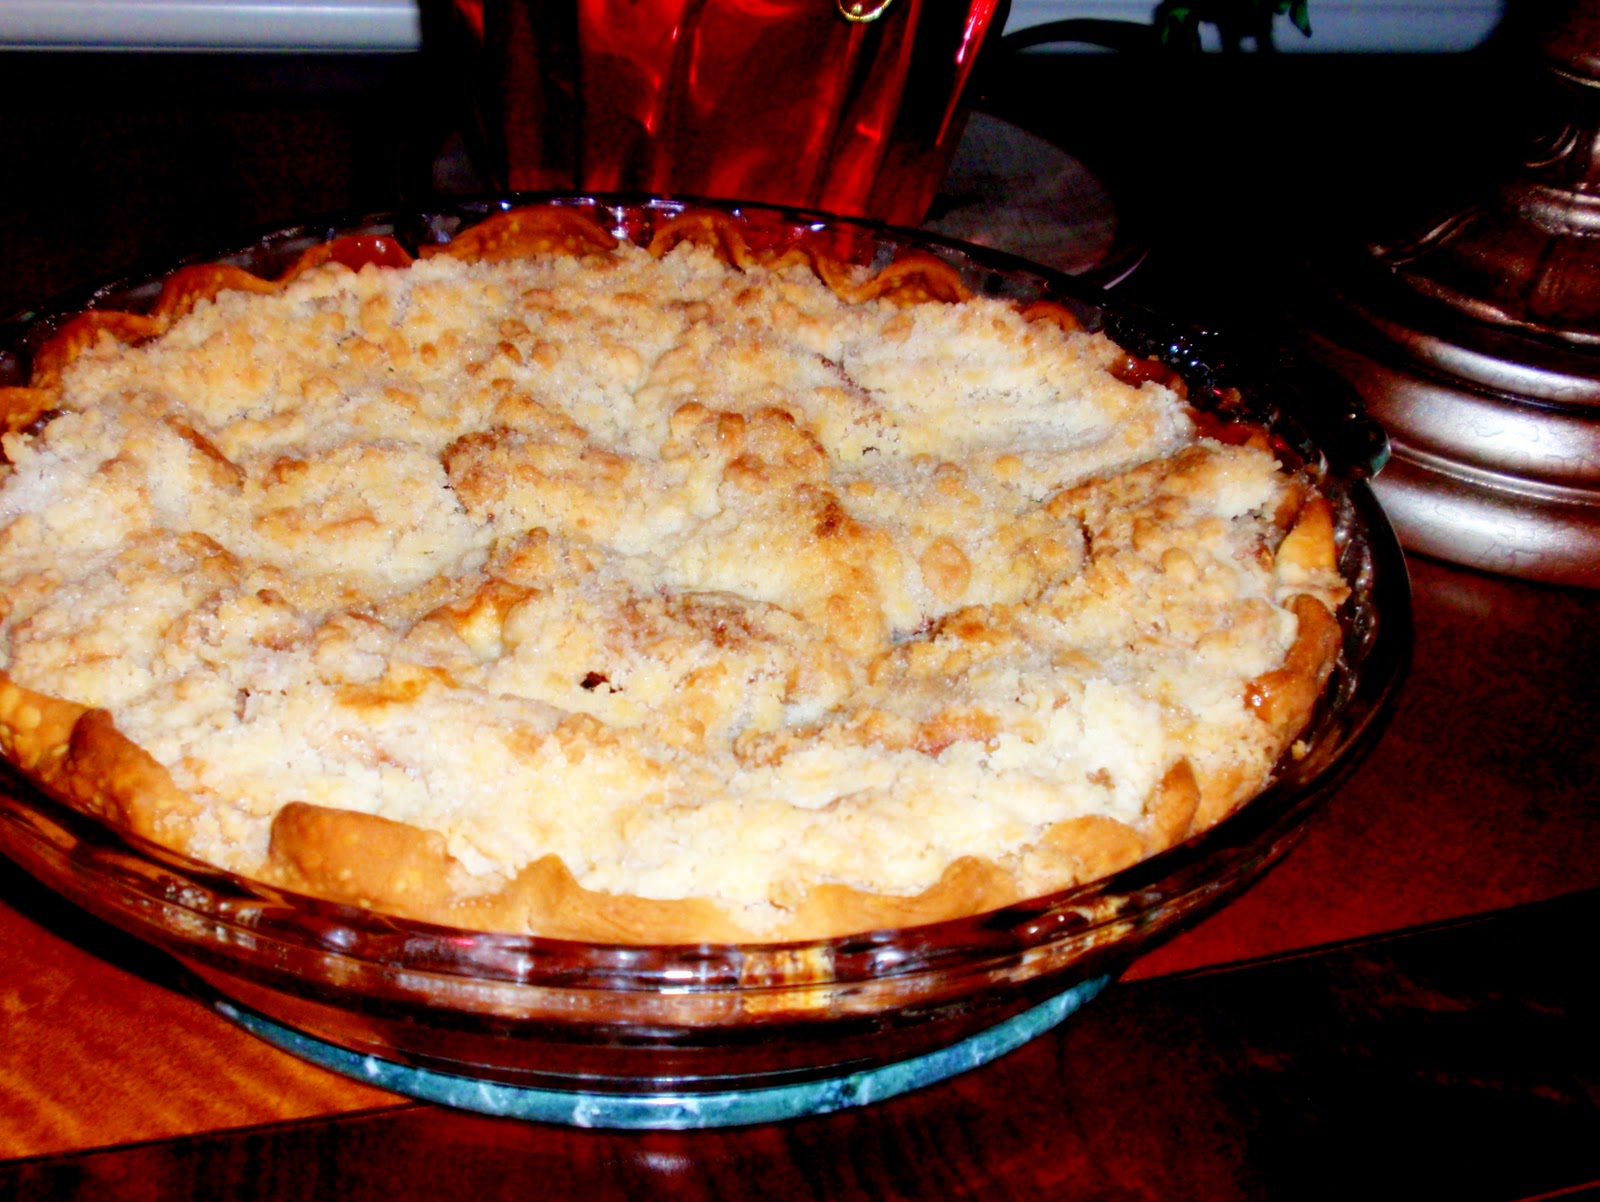
Mom's Apple Crumb Pie

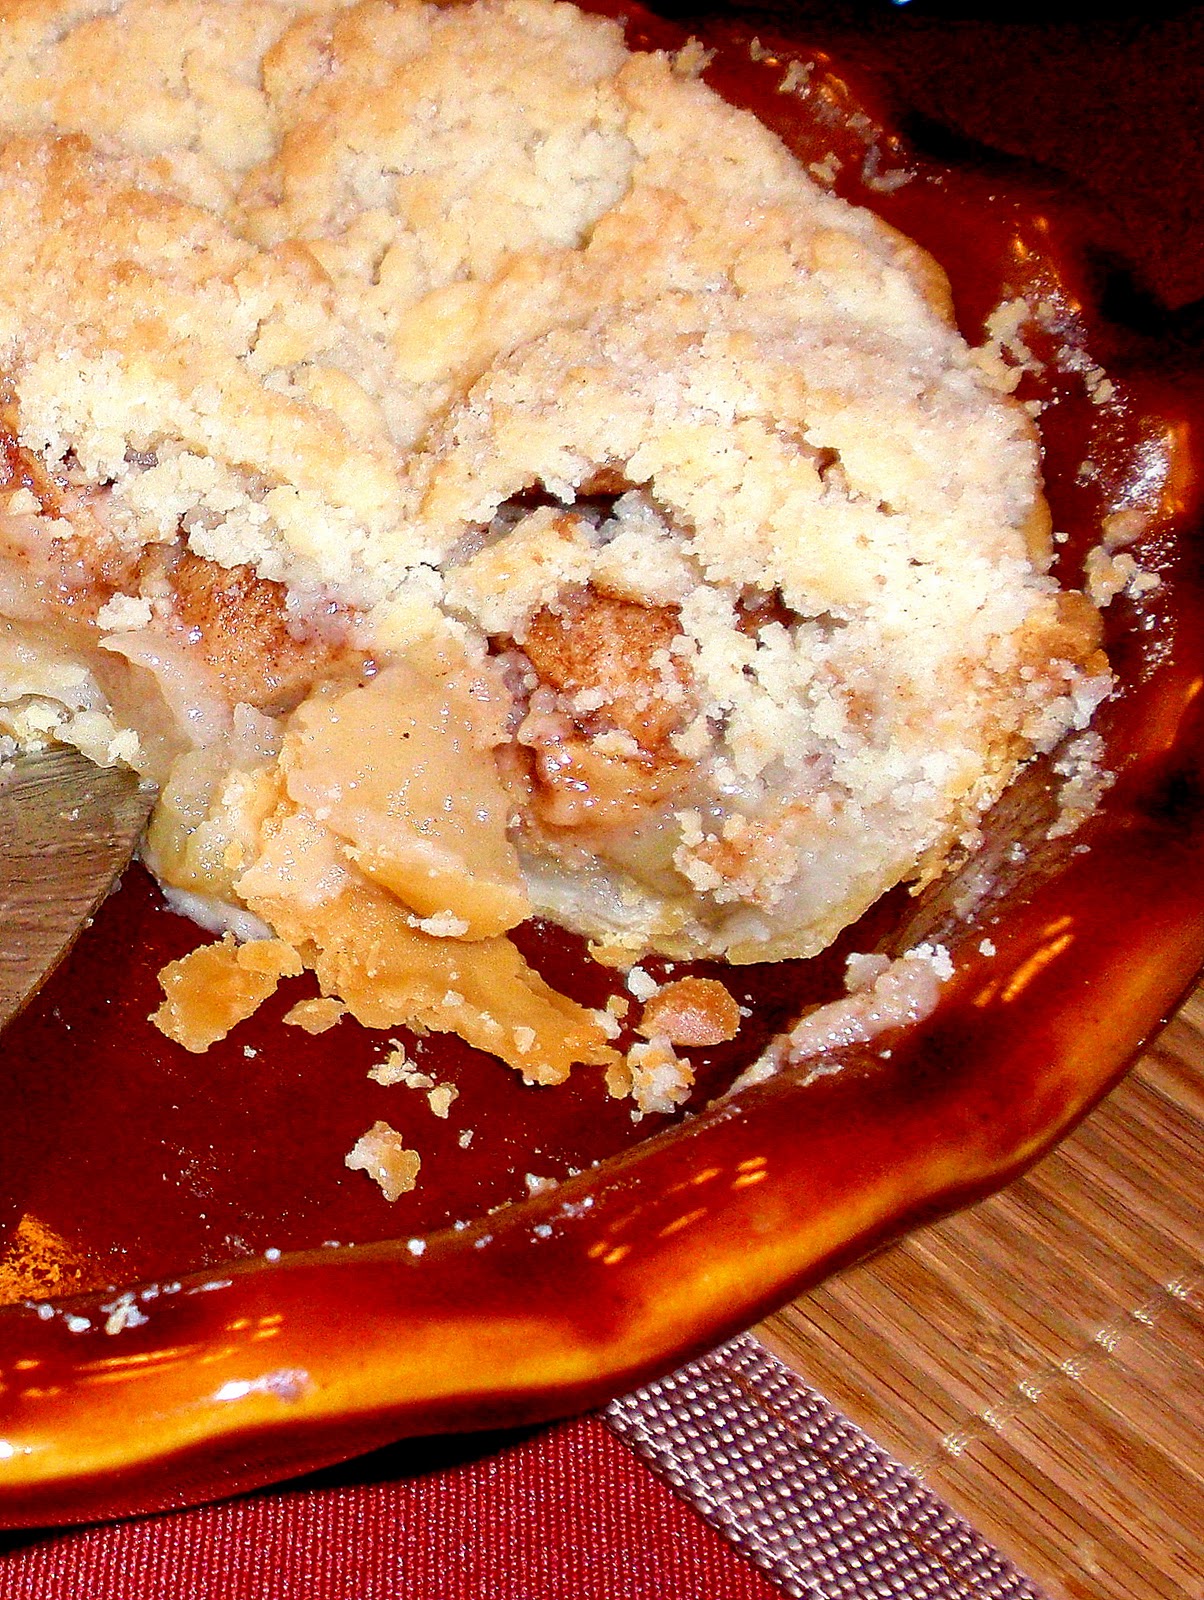
For as long as I can remember, my mother has made this apple pie every Christmas, Thanksgiving, and Fourth of July. Last year, I co-opted Christmas dessert, and my father... well, let's just say that he was less than pleased.

When the question of whether to follow Christmas dinner with the apple pie or something new, the answer was a resounding, "Why not both?"

I cannot personally take credit for this particular pie, as this is the fruit of my mother's labor. I can assure you, however, that the recipe is sound, and does not necessarily require my mother's magic. I recall baking one for a summer BBQ once, and was thrilled to death to catch the host (I kid you not) LICKING the plate. I have tried to enjoy other apple pies, but I always find myself longing for this one. It really is THAT good. Trust me.


Apple Crumb Pie
(original source unkown)

  • 5 to 7 tart apples (5 cups)
  • 1 9-inch unbaked pastry shell*
  • 1/2 cup sugar
  • 3/4 teaspoon ground cinnamon
  • 1/3 cup sugar
  • 3/4 cup all-purpose flour
  • 6 tablespoons butter

Pare apples; core and cut in eighths. Place in unbaked pastry shell.

Mix 1/2 cup sugar and cinnamon; sprinkle over apples.

Mix 1/3 cup sugar with the flour; cut in butter using pastry cutter or two knives, till crumbly. Sprinkle over apples.

Bake at 400 degrees for 35 to 40 minutes or till done.**  If pie browns too quickly, cover edge with foil.

*If using a 10-inch plate, ncrease the topping flour, butter and sugar by about a 1/3 so you will have enough to cover...

**If you use Granny Smith apples, they will take longer to cook. Turn the oven down to 350 degrees after 35 minutes, and watch carefully.

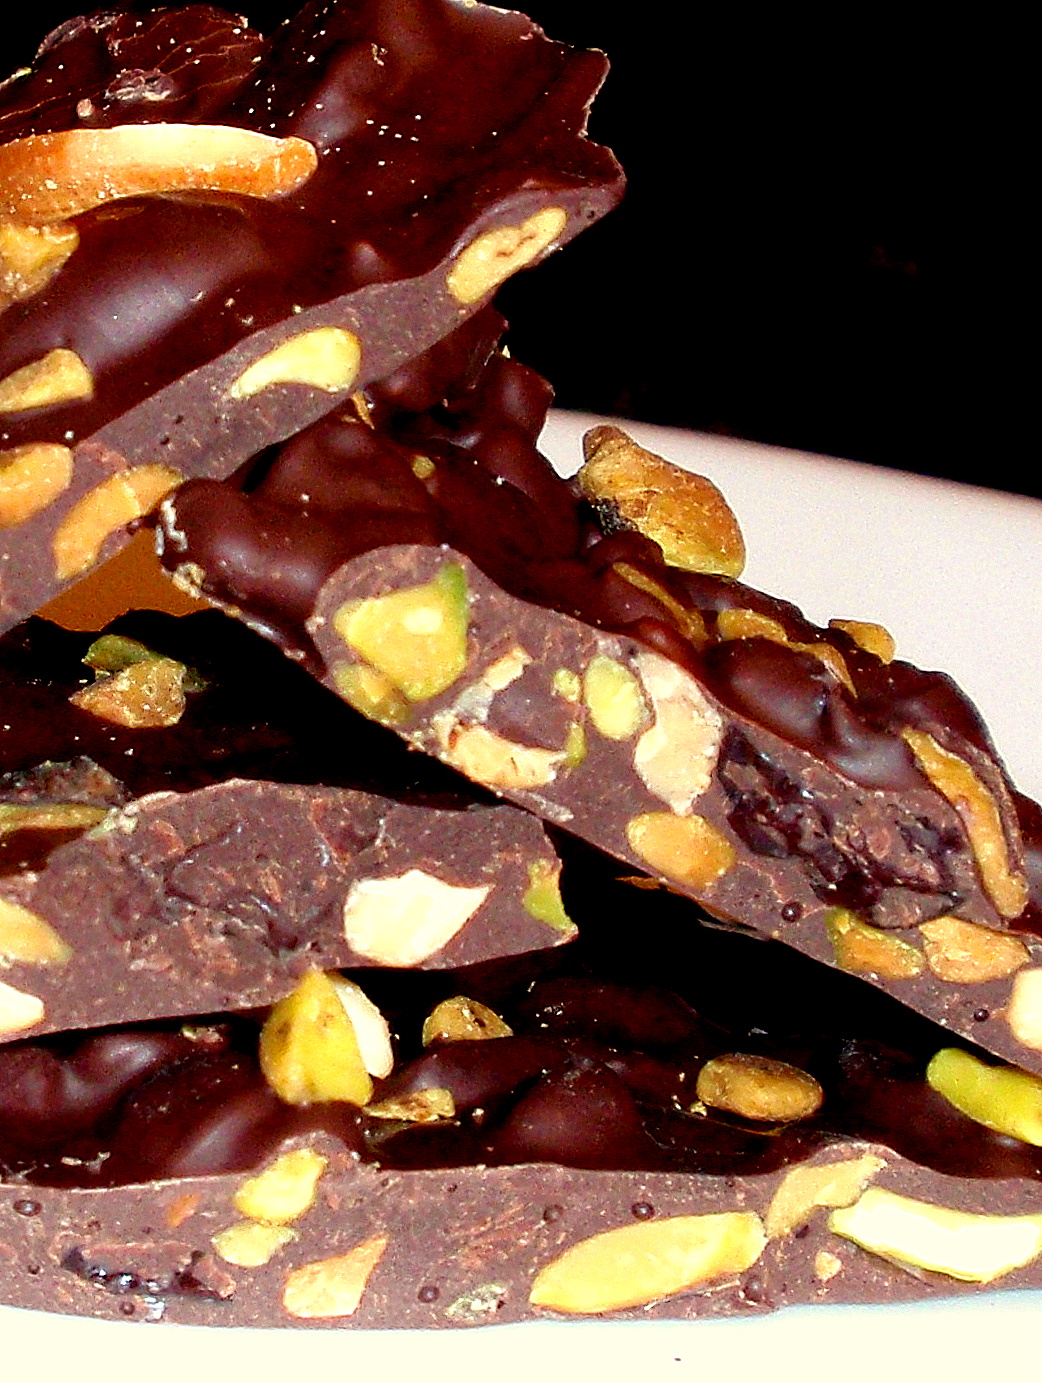
Ancho Chili-Cinnamon Chocolate Bark

If I were to pick on recipe that exemplifies the 2011 holiday season, this would undisputedly be the one.

I found it when searching for something special to bring on my annual Thanksgiving trip to Tahoe. In the past, I have made biscotti (to great acclaim, I might add), but this year, I knew I wouldn't have time to back the night before the trip, and I was concerned that the biscotti might be a bit disappointing by Thanksgiving if I made them the weekend before.

Enter food52.com, my new favorite blog, which lists this recipe for Ancho Chili-Cinnamon Bark as the grand prize winner in their "Favorite Food Gift" contest. I had never made chocolate bark before, but it appeared relatively simple and most importantly, was categorized under the "make-ahead" label. The ingredients were a bit expensive, but absolutely worth it. My friends and family raved and raved, prompting me to make several more batches of bark (for a cookie exchange, for office christmas presents, for fun) before the season was over.
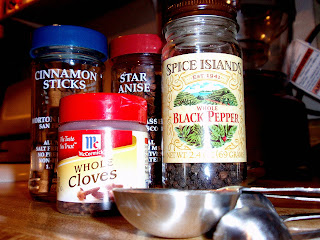
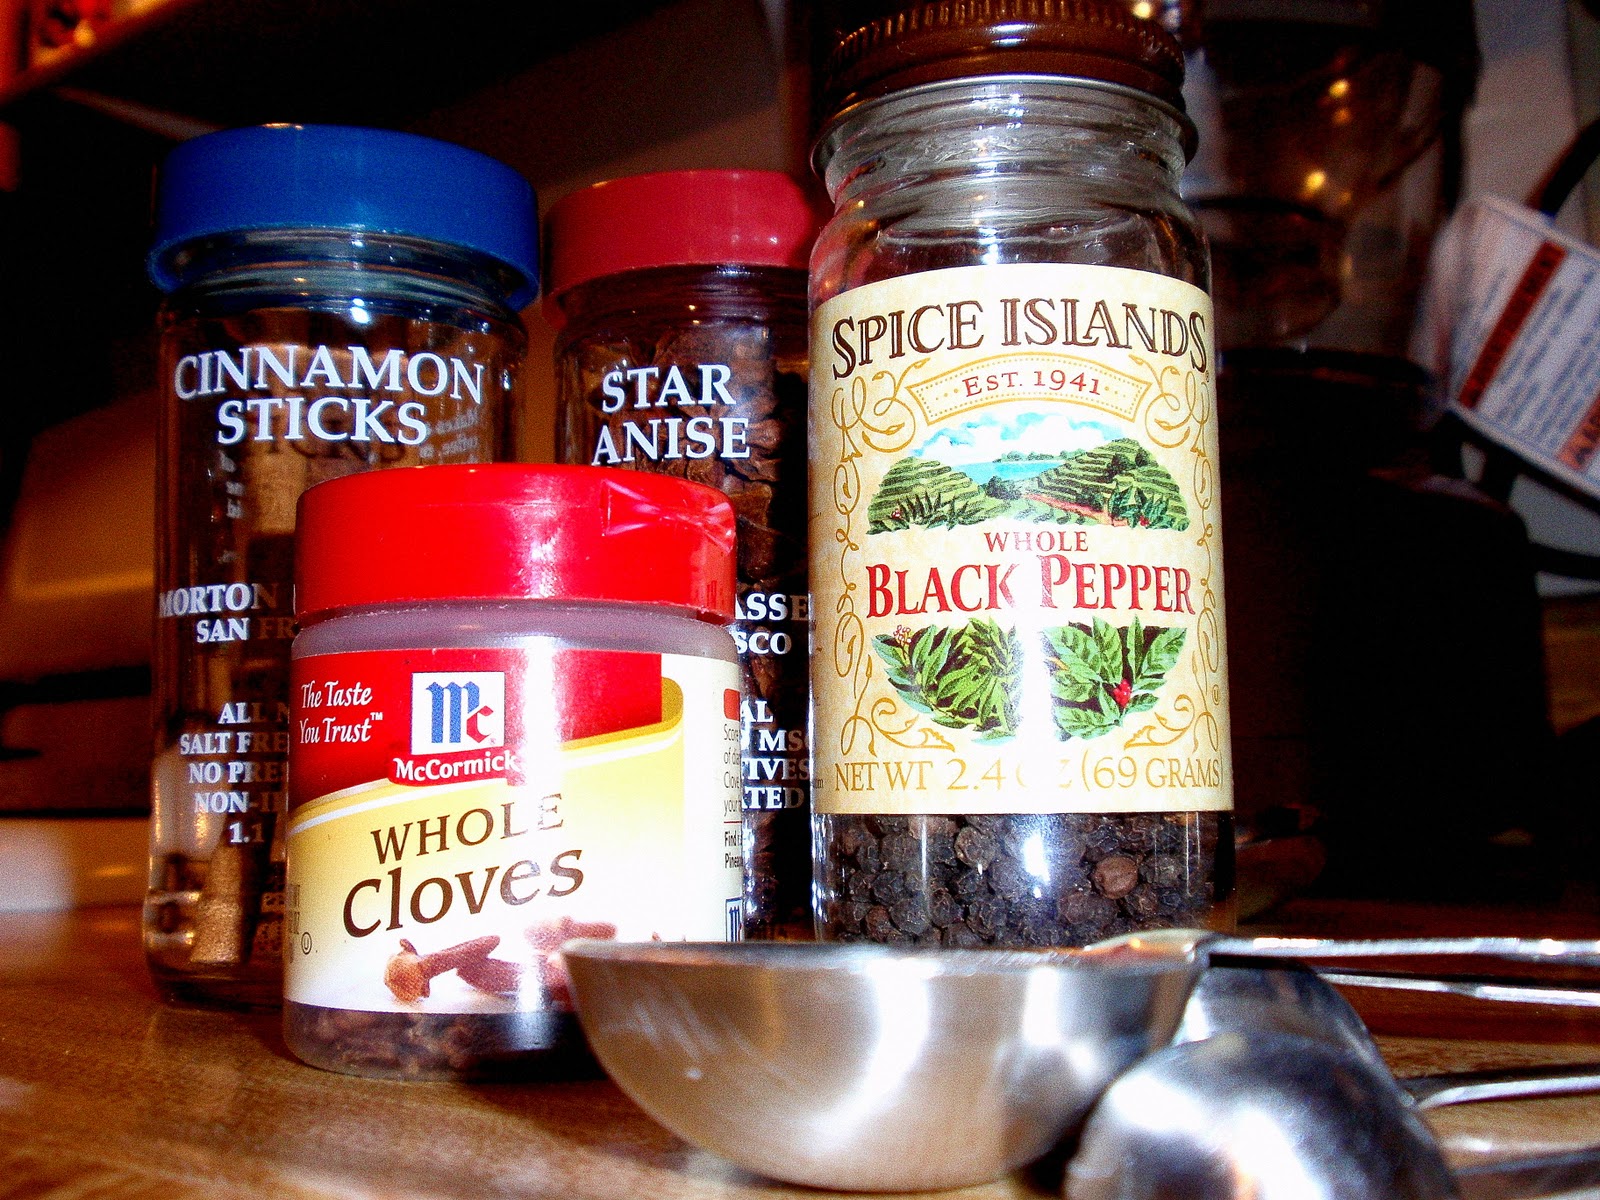
The process is fairly simple. You start out by putting some spices and chilis in the oven....


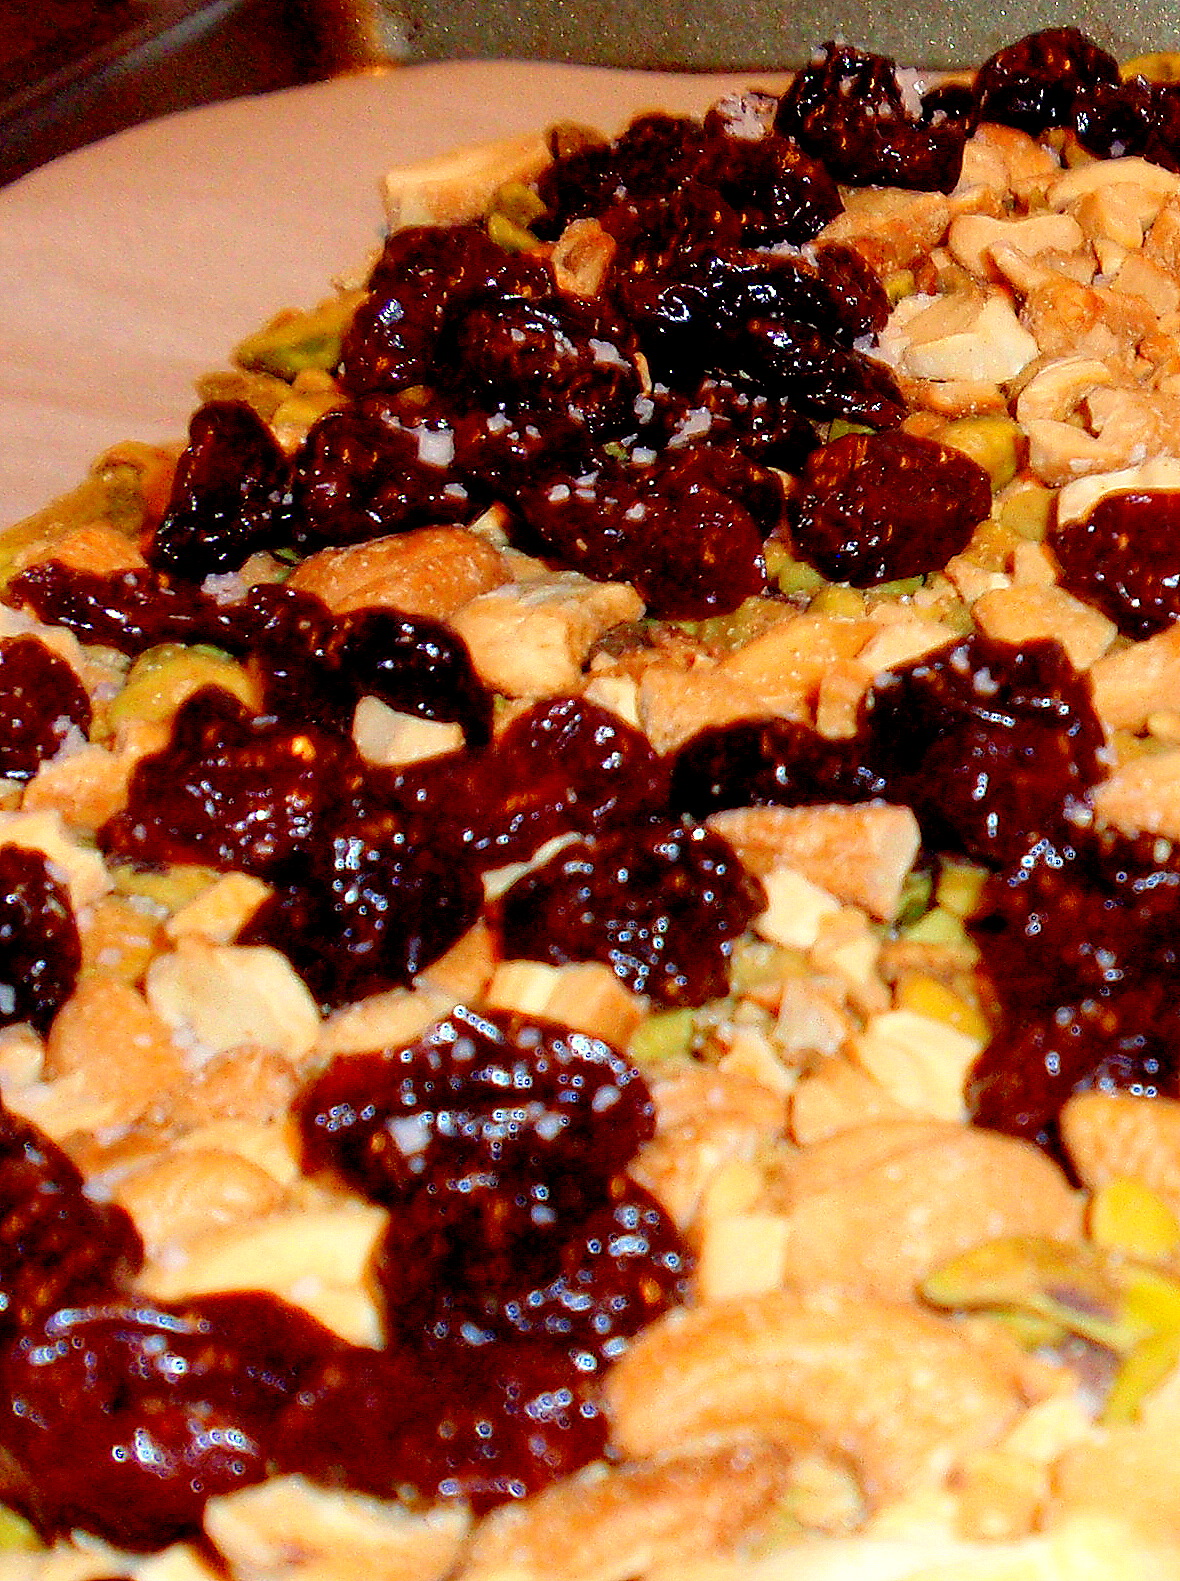
Then you spread some cherries and toasted nuts on a cookie sheet...


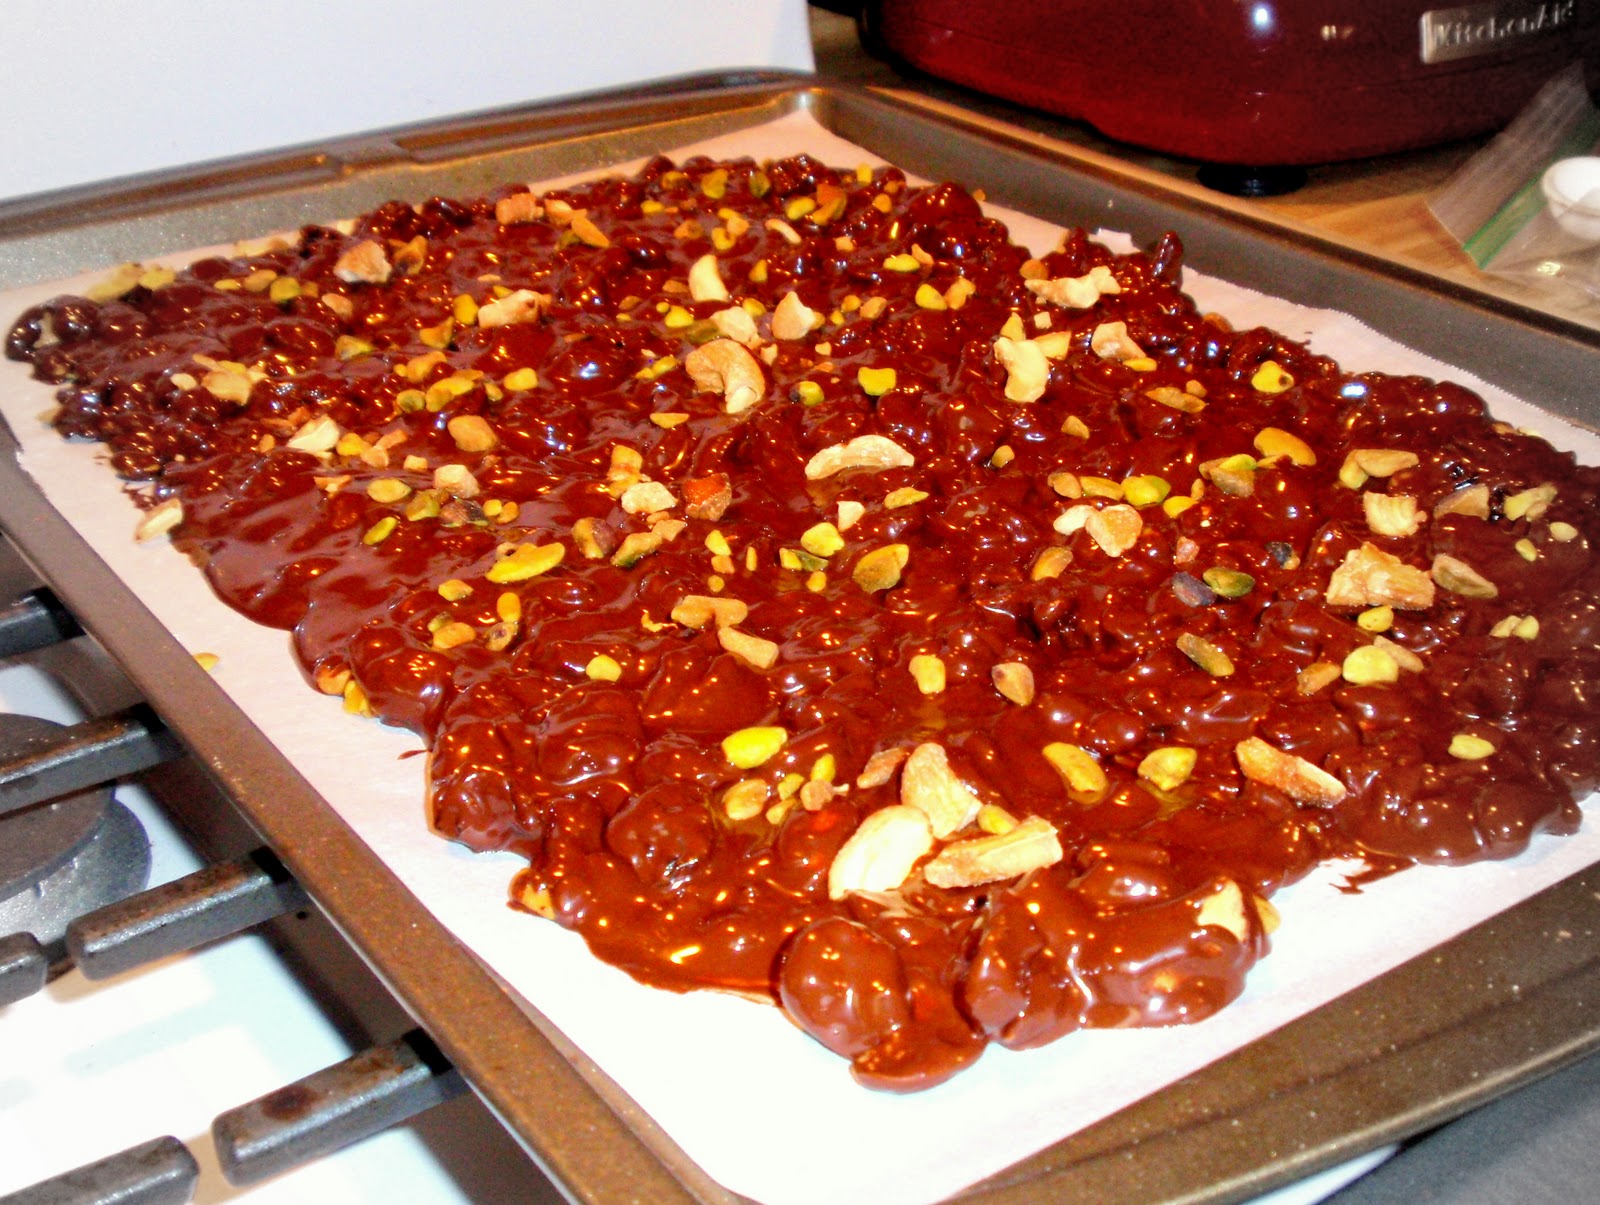
Pour some melted chocolate on top...


Let in sit in the fridge for an hour or so...
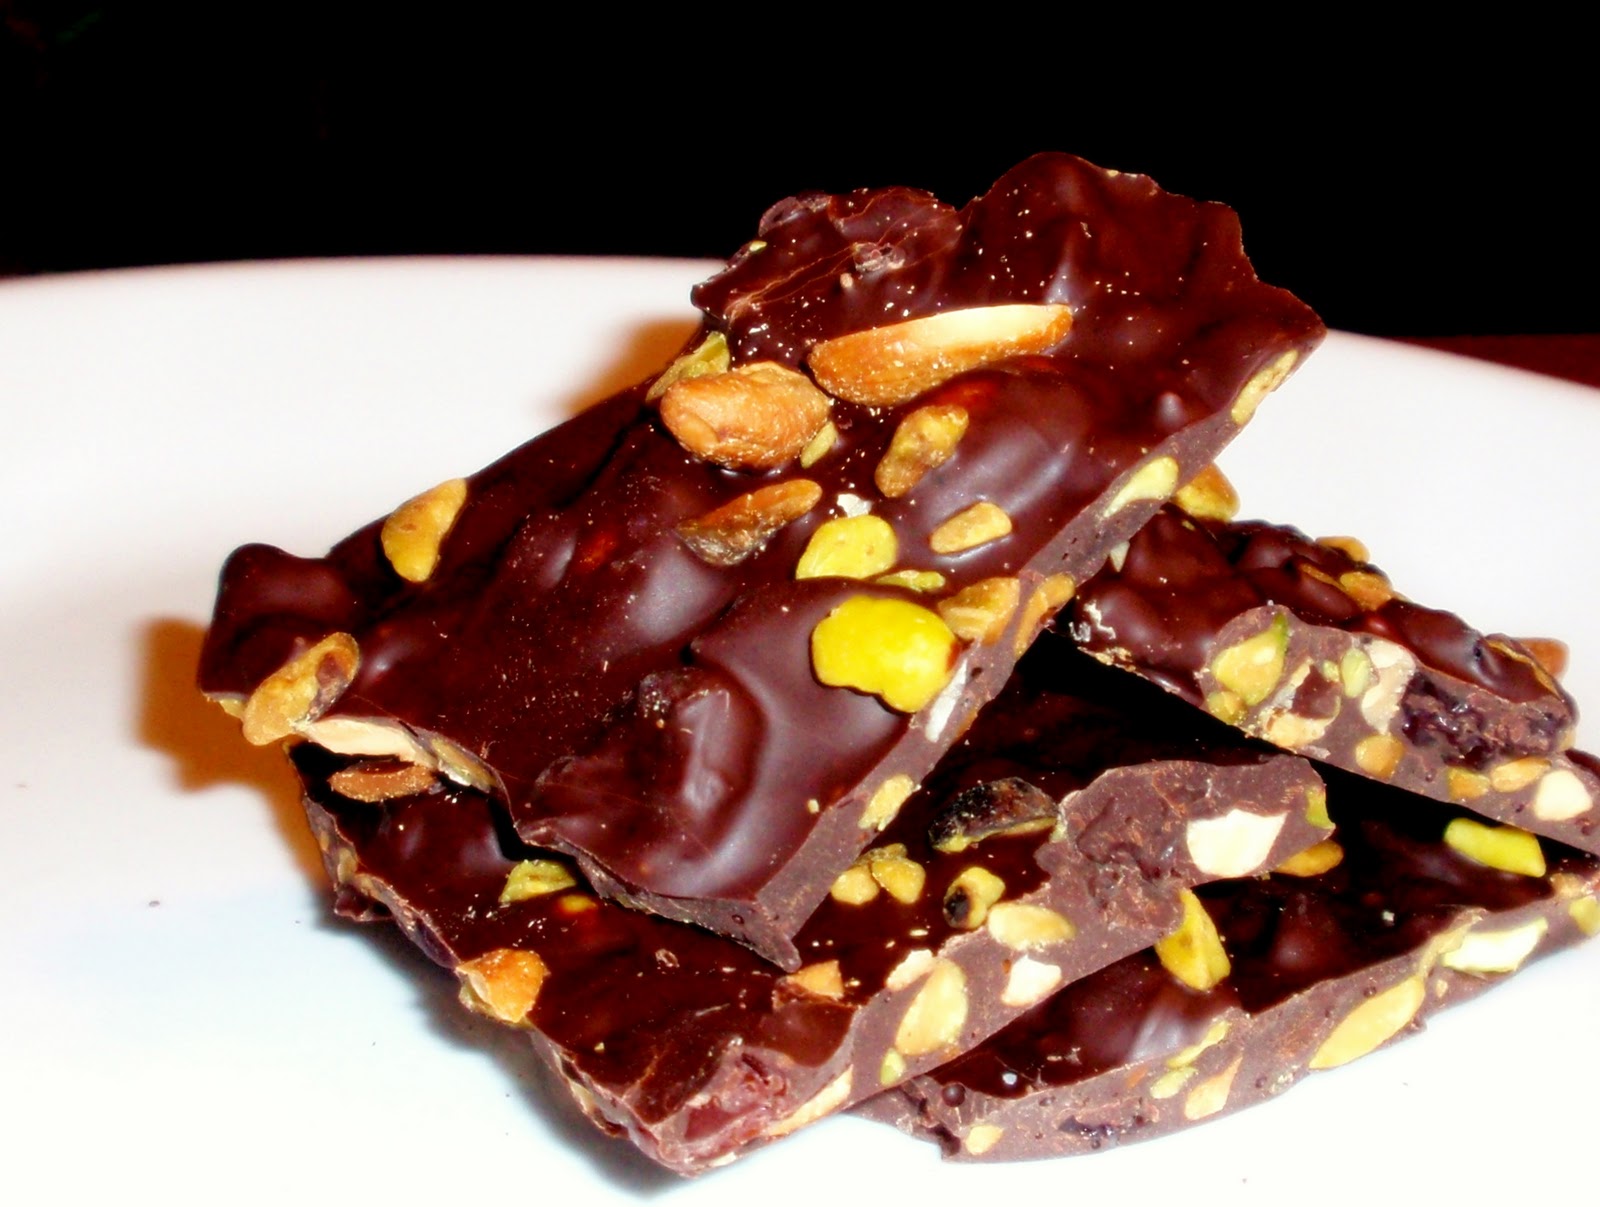
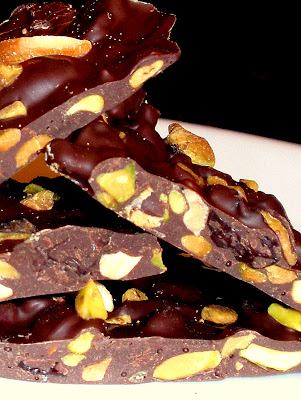
Break it into pieces...


And Voila', you have BARK!

The best part: This stuff lasts for weeks. Seriously. If you can keep yourself from eating it all immediately, it just gets better and better with time.


Ancho Chili-Cinnamon Chocolate Bark
(from food52.com)


1/2 teaspoon black peppercorns
2/3 cups pistachio

To make the spice mix, pre-heat oven to 350 degrees. Place first 5 ingredients on a baking sheet and place in oven. Toast until fragrant or about 10 min.

Remove steams and majority of seeds from the anchos. Place all spices in a spice grinder or coffee grinder and pulverize. You may need to grind spices in batches.

Toast the nuts by placing them on the baking sheet and put in the oven. Check after 10 minutes. When done, remove from oven and let cool.

Place ¾ of the chocolate in a bowl and slowly melt the chocolate, either in the microwave checking and stirring it every 25 seconds or over a double broiler on the stovetop.

When all of the chocolate is melted, take it off of the heat and add in the remaining chocolate, stir until it is completely melted.

Add one to two teaspoons of the spice mix. Add one at a time and taste; add more if you want it to be spicier. I like a subtle spice flavor, it keeps those eating it wondering what the secret spice could be.

Line the baking sheet with parchment paper or a silpat. Spread out the nuts and cherries, reserving a few of the nuts to decorate the top.

Sprinkle salt over the nuts and cherries.

Pour the chocolate onto the pan, covering the nuts and cherries in an even layer. Add remaining nuts to the top of chocolate and press them into the chocolate.

Put in fridge and allow to cool for 45 min. Break into pieces and keep in a sealed container in the fridge

Sunday, December 4, 2011

Asian Lettuce Wraps with Ground Turkey

A few weeks ago, my boyfriend and I took quick trip down to SoCal to visit his family -- a trip that typically involves a lot of eating and drinking, with very little exercise.

 
Upon our return, I was craving something light and healthy, but had no specific hankering. Knowing I had some ground turkey in the freezer, I did what I often do when I'm in search of inspiration -- I headed over to Tastepotting.com, did a quick search for "ground turkey," and clicked on the most salivation-inducing delicacy I could find.

 
This approach led me to Kalyn's Kitchen, which appears to cater to South Beach dieters. I was pleased that these lettuce wraps were not only light and healthy, but also fun to make and eat. The finished product tasted amazingly similar to Pad Ka Prow, which my boyfriend and I order from Marnee Thai at least once every other week. Perhaps this recipe will have to become part of the regular rotation....

 
Asian Lettuce Wraps with Ground Turkey
(from Kalyn's Kitchen, adapted from California Sol Food)

  • 1 T vegetable oil (or peanut oil)
  • 3 T minced shallots (or red onions)
  • 2 T minced garlic
  • 2 T grated ginger root
  • 1 1/2 lbs. ground turkey
  • 4 T soy sauce
  • 1 T Chile Garlic Sauce (or more, depending on how much heat you desire/can tolerate)
  • 1 tsp. fish sauce
  • 1 cup chopped fresh cilantro
  • 1/3 cup chopped peanuts (optional)
  • 1 large or 2 small heads butter lettuce, Boston lettuce, or iceberg lettuce  
Chop onion and set aside.  Peel ginger root, then grate with the LARGE side of a cheese grater (*I did not read this closely, and had the most awful time trying to use the small side), and chop garlic.
 
Heat the oil in a large non-stick frying pan, add onion and saute about 2 minutes, then add garlic and ginger root and saute about one minute more.
 
Add ground turkey to frying pan (with a bit more oil if needed) and break apart.  Add soy sauce, chili garlic sauce, and fish sauce. Cook until the turkey is brown and crumbling apart, and the sauce is slightly reduced, about 5 minutes.
 
While turkey cooks, wash and chop fresh cilantro. Remove the core end from lettuce, separate leaves, and wash in salad spinner and spin dry (or wash under running water and dry with paper towels.) Chop peanuts (if using) and put in small bowl to serve at the table.
 
When turkey is done, add chopped cilantro and cook 1-2 minutes more.
 
Serve filling and lettuce leaves in separate bowls, with chopped peanuts in another small bowl. To prepare, take a lettuce leaf, fill with desired amount of turkey mixture, add chopped peanuts, fold the lettuce leaf over like a taco, and enjoy!  
 

Roasted Shrimp with Feta


Mmmm, Mmmm, Mmmm!

I am thrilled to post on one of my all-time favorite recipes. Nice enough for company, easy enough for a weeknight, this tends to be my go-to meal whenever I have shrimp in the freezer. It occurs to me that one of these days, I could try something new, but the thought of missing out on something something so flavorful (and so relatively healthy) is just too painful. 

I serve it with garlic and olive oil couscous, but I'm sure that rice would work just as well.

Just one word of caution: Don't touch the pan after you've removed it from the over. (Yes, I learned this one the hard way.)

Roasted Shrimp with Feta
(from Pink Parsley, adapted from The Barefoot Contessa, How Easy is That?) 
  • 4 Tbs olive oil, divided
  • 1 medium onion, diced
  • 1/3 cup dry white wine
  • 1 (15-ounce) can diced tomatoes
  • 2 tsp. tomato paste
  • 1 Tbs minced fresh oregano
  • 1 tsp. kosher salt
  • 1/2 tsp freshly ground black pepper
  • 1 1/4 pounds (16-20 per pound) peeled and deveined shrimp -- I used ones WITHOUT tails
  • 5 ounces feta cheese, coarsely crumbled
  • 1 cup fresh bread crumbs
  • 3 Tbs minced fresh parsley
  • 1 tsp grated lemon zest
  • 2 lemons
Preheat the oven to 400 degrees.

Heat 2 tablespoons of the olive oil in a 10 to 12-inch oven-proof skillet over medium-low heat.  Add the onion and saute 5-8 minutes, until tender.  Add the garlic and cook for 1 minute.  Add the wine and bring to a boil, scraping up the browned bits.  Cook 2-3 minutes, until the liquid has reduced by half.

Add the tomatoes with their liquid, tomato paste, oregano, salt, and pepper to the skillet.  Stir to combine and simmer over medium low heat, stirring occasionally, 10-15 minutes.

Meanwhile, combine the breadcrumbs, parsley, lemon zest, and 2 tablespoons of olive oil in a small bowl.  Stir well to moisten the breadcrumbs.

Remove the pan from heat and arrange the shrimp, tails up (if necessary), in one layer over the tomato mixture.  Scatter the feta evenly over the shimp, and sprinkle the breadcrumb mixture on top.

Bake for 15 minutes, until the shrimp are cooked and the bread crumbs are golden brown.  You may want to turn on the broiler for the last few minutes.  Squeeze the juice of 1 lemon over the shrimp (Don't skip this step!!!), and serve hot with the remaining lemon cut into wedges.

Salted Double Chocolate Peanut Butter Cookies

I have a feeling that I'm amongst the last to the table, but it's only in the past month that I stumbled across the divine food52 blog, which has quickly become one of my most beloved and trusted sources for new recipes.

This one immediately caught my eye. It's not hard to see why. I'm a sucker for chocolate and peanut butter -- and even MORE of a sucker for any cookie with fleur de sel on top. I figured there was no way I could wrong.

I was right. These cookies are FANTASTIC. The picture simply doesn't do them justice. They were fast, easy, chewy, delicious, and just surprising enough to make them special and memorable. My boyfriend's best friend (does that make him my BFBFF?), who incidentally is usually heath-conscious, came over with just 6 cookies left, and proceeded to eat each and every one of them with a big, guilty grin on his face. That, my friends, is a high compliment.

So, without further ado:

Salted Double Chocolate Peanut Butter Cookies
(from food52.com)
  • 1 1/4 cup all-purpose flour
  • 1/2 cup cocoa powder
  • 1/2 teaspoon baking soda
  • 1 teaspoon baking powder 
  • 1/2 teaspoon  salt
  • 1/2 cup butter, room temperature
  • 1 cup sugar
  • 2 large eggs 
  • 2 teaspoons vanilla extract
  • 3/4 cups creamy peanut butter (not all natural)
  • 1/2 cup unsalted peanuts (I subbed peanut butter chips, with great results)
  • 1 cup semi-sweet chocolate chips
  • coarse sea salt for sprinkling
Preheat oven to 350 degrees F. Line two large baking sheets with parchment paper.

In a medium bowl, whisk flour, cocoa, baking soda, baking powder, and salt.

In a large bowl, beat butter and sugar with an an electric mixer on medium-high speed. Beat in eggs and vanilla. Beat in peanut butter until just combined. Beat in dry ingredients until just combined. Stir in peanuts (or peanut butter chips) and chocolate chips.

Drop 1 heaping tablespoon of cookie dough  two inches apart (as they will spread). Top each cookie with a few sea salt crystals.

Bake cookies for 12-14 minutes, until the edges are firm. It's OK if the centers are a tad soft. They'll firm up as they cool. Transfer to a wire rack to cool. Cool completely before storing in an air-tight container, for up to 5 days.

Sunday, November 27, 2011

Sauteed Chicken with Tomatoes, Olives, and Feta

 
 Every once in awhile a recipe comes along that it so easy and so incredibly delicious that you simultaneously want to tell everyone you know about it AND keep it all to yourself. This is such a recipe. Perfect exactly as written (although it's also ok if you accidentally use 8 tablespoons instead of 8 teaspoons of oregano). Thank you, Epicurious.

Sauteed Chicken with Tomatoes, Olives, and Feta
from Epicurious
  • 6 skinless boneless chicken breast halves, trimmed, pounded to 1/3-inch thickness
  • 1/2 cup plus 2 tablespoons olive oil
  • 1/3 cup fresh lemon juice
  • 8 teaspoons chopped fresh oregano
  • 2 garlic cloves, pressed
  • 30 pitted Kalamata olives, cut lengthwise into slivers
  • 16 grape tomatoes, stemmed, quartered lengthwise
  • 1/2 cup crumbled feta cheese
Score top of chicken breasts with sharp knife; place in large glass baking dish. Whisk 1/2 cup oil, lemon juice, 6 teaspoons oregano, and garlic in small bowl to blend. Season dressing to taste with salt and pepper. Chill 3 tablespoons dressing for tomatoes. Pour remaining dressing over chicken; turn chicken to coat. Cover; refrigerate at least 3 hours and up to 6 hours, turning occasionally.

Toss olives, tomatoes, feta, remaining 2 teaspoons oregano, and reserved dressing in medium bowl. Heat remaining 2 tablespoons olive oil in heavy large skillet over medium-high heat. Add chicken and sauté until cooked through, about 3 minutes per side. Transfer to platter; season to taste with salt and pepper. Spoon tomato mixture onto chicken.

Honey-Marinated Pork with Gremolata

Epicurious has become my go-to spot for weeknight recipes, primarily because its iphone app makes shopping so darn easy. This recipe caught my eye for a few reasons: (a) I almost always have a pork tenderloin in the freezer; (b) it possesses a coveted 4-fork rating; and (c) it is classified as both "low cal" and "healthy" (two factors that are more important than ever while my usual calorie-burning activities have been curtailed).

I prepared it exactly as written, and was satisfied (if not blown away) by the results. If I make it again, I will likely let it marinate a little longer, perhaps overnight, as one reviewer suggested. I was surprised to find that I enjoyed it more the second night than I did on the first.

Honey-Marinated Pork with Gremolata

  • 2 12-to 14-ounce pork tenderloins, trimmed
  • 1/3 cup honey
  • 4 garlic cloves, minced
  • 1 tablespoon orange juice
  • 1 teaspoon (or more) fine sea salt
  • 1 tablespoon olive oil
  • 1/4 cup dry white wine
  • 1 tablespoon finely grated orange peel
  • 1 tablespoon chopped fresh thyme
  • 2 teaspoons chopped fresh rosemary
  • 2 teaspoons chopped fresh sage
Place pork in 11 x 7 x 2-inch glass baking dish. Whisk honey, garlic, and orange juice in small bowl. Pour over pork; turn to coat. Sprinkle pork with 1 teaspoon sea salt and 1/2 teaspoon freshly ground black pepper. Cover and chill at least 2 hours. DO AHEAD: Can be made 1 day ahead. Keep chilled.

Preheat oven to 375°F. Transfer pork to plate; reserve marinade. Heat oil in large ovenproof skillet over medium-high heat. Add pork to skillet. Brown on all sides, turning often, about 4 minutes. Transfer to oven; cook until instant-read thermometer inserted into center of pork registers 150°F, 15 to 20 minutes. Transfer to cutting board; let rest 5 minutes. Reserve skillet.

Pour reserved marinade into same skillet; add wine. Boil gently until reduced to 1/2 cup, 3 to 4 minutes. Season with sea salt and pepper.

Mix orange peel, thyme, rosemary, and sage in small bowl for gremolata. Cut pork crosswise into 1/2-inch-thick slices; transfer to platter. Pour sauce over pork. Sprinkle with gremolata and serve.